What to do if my vapes burnt?
If you’re a vaper, you know the frustration of taking a hit from your device only to be met with a burnt taste. This unpleasant experience can be caused by a variety of factors, including a dirty mouthpiece, a burnt coil, or an overheated wick. Fortunately, there are steps you can take to fix a burnt vape and get back to enjoying your favorite e-juices.
The first step in fixing a burnt vape is to identify the cause of the problem. If you notice a burnt taste when you take a hit, it’s likely that your coil or wick is burnt. If your vape is leaking, you may have overfilled your tank or have loose components. Once you’ve identified the issue, you can take steps to fix it. In some cases, simply cleaning the mouthpiece or replacing the coil can solve the problem. In other cases, you may need to adjust your wattage settings or change your e-liquid.
Understanding Why Your Vape Tastes Burnt
If you’re experiencing a burnt taste when vaping, there are a few reasons why this might be happening. Here are some of the most common reasons why your vape might taste burnt:
1. Dry Wick
One of the most common reasons why your vape might taste burnt is because the wick is dry. When the wick is dry, it can’t properly absorb the e-juice, which can cause it to burn when you heat it up. To fix this issue, try adding more e-juice to your tank or atomizer.
2. High Wattage
Another reason why your vape might taste burnt is because you’re using too high of a wattage. When you use a high wattage, it can cause the coil to heat up too quickly, which can lead to a burnt taste. To fix this issue, try lowering the wattage on your device.
3. Old Coil
If you’ve been using the same coil for a while, it might be time to replace it. Over time, coils can become clogged with residue, which can cause them to burn when heated up. To fix this issue, try replacing your coil with a new one.
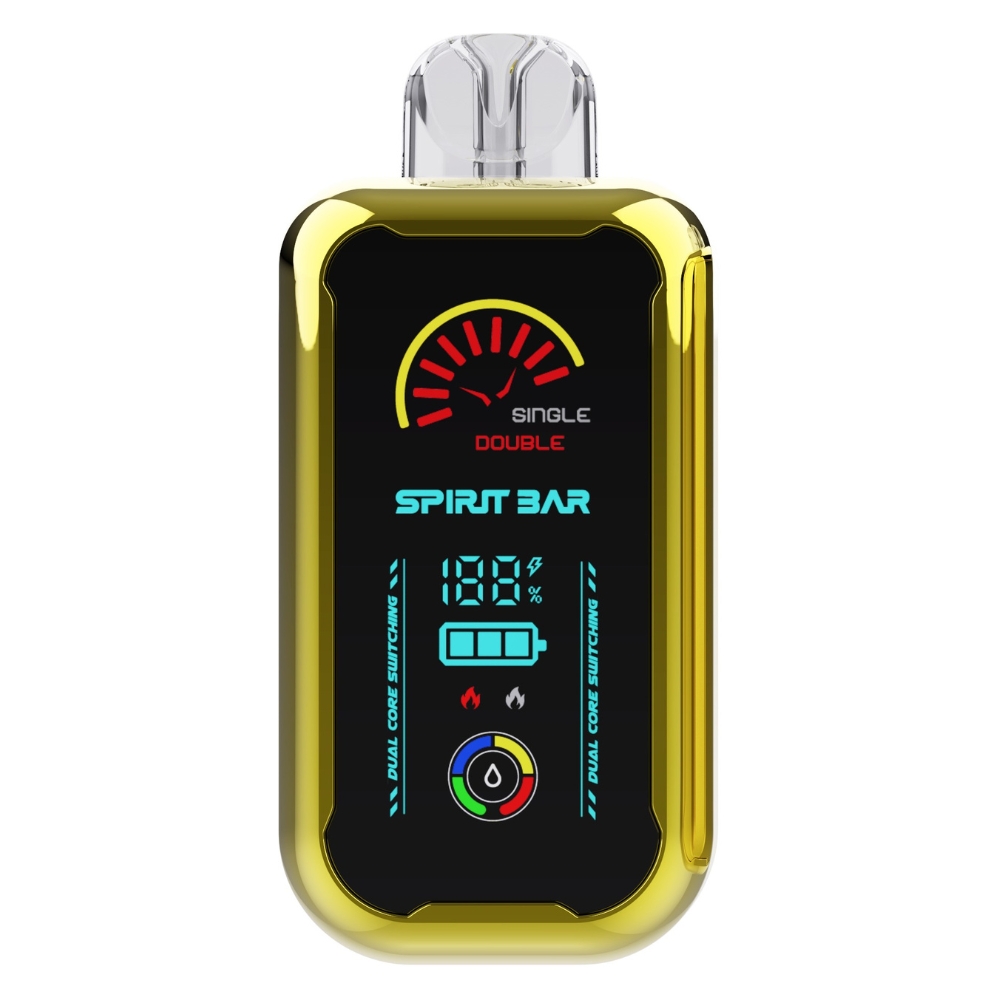
SPIRITBAR TRON 20000 Puffs
$14.99 (Free Shipping, 2-6 Days Delivery)
- Full-Screen Display
- Smooth & Boost Adjustable Two Models
- 25ml E-liquid Capacity
- 50mg Strength
- Up to 20000 Puffs
4. Wrong E-Juice
If you’re using the wrong type of e-juice for your device, it can cause a burnt taste. For example, if you’re using a high VG e-juice in a device that’s designed for high PG e-juice, it can cause the coil to burn. To fix this issue, make sure you’re using the right type of e-juice for your device.
5. Overheating
If your device is overheating, it can cause the e-juice to burn, which can lead to a burnt taste. To fix this issue, try letting your device cool down before using it again.
By understanding why your vape might be tasting burnt, you can take steps to fix the issue and enjoy a better vaping experience.
How to Identify a Burnt Coil
One of the most common issues vapers encounter is a burnt coil. A burnt coil can ruin your vaping experience and even be dangerous. Here are some signs that your coil may be burnt:
- Gurgling sounds: Normally, vaping produces a light popping, crackling, or hissing noise. But if it sounds similar to a kid blowing bubbles in his milk, you may have a burnt coil.
- Burnt taste: If your vape tastes burnt or has a weird taste, it’s a clear sign that your coil is burnt.
- Less vapor production: If your vape is producing less vapor than usual, it may be due to a burnt coil.
- Darkened e-liquid: If your e-liquid is darkened or looks burnt, it’s a sign that your coil is burnt.
- Coil discoloration: If you notice that your coil is discolored or looks burnt, it’s time to replace it.
If you experience any of these symptoms, it’s time to replace your coil. Continuing to use a burnt coil can lead to more serious problems, so it’s important to replace it as soon as possible.
Prevention Measures
Preventing your vape from burning is the best way to avoid unpleasant hits and ensure a consistent vaping experience. Here are a few measures you can take to prevent your vape from burning:

SPIRITBAR TRON 20000 Puffs
$14.99 (Free Shipping, 2-6 Days Delivery)
- Full-Screen Display
- Smooth & Boost Adjustable Two Models
- 25ml E-liquid Capacity
- 50mg Strength
- Up to 20000 Puffs
- Monitor E-liquid Levels: Low e-liquid levels can cause the wick to burn, leading to a burnt taste. Make sure to monitor the e-liquid levels regularly and refill the tank or cartridge as needed. Keeping the wick saturated will ensure a consistent and enjoyable vaping experience.
- Avoid High Sweetener Content: E-liquids with high levels of sweeteners can also contribute to a burnt taste. Sweeteners tend to caramelize at high temperatures, leading to a burnt taste. To avoid this, choose e-liquids with low or no sweeteners.
- Clean Your Vape Regularly: Regular cleaning of your vape can help prevent burnt hits. Clean the mouthpiece, tank, and coil regularly to prevent the buildup of debris and residue.
- Avoid Overheating: Overheating your vape can cause the e-liquid to burn, leading to a burnt taste. Avoid chain vaping or taking long draws, as this can cause the coil to overheat. Take breaks between puffs to allow the coil to cool down.
By following these prevention measures, you can avoid burnt hits and ensure a consistent and enjoyable vaping experience.
Proper Priming of Your Coil
To avoid burnt hits and maintain a top-quality vape, properly priming your coil is crucial. Here are some steps to follow to prime your coil like an expert:
- Preparation: Before you begin, make sure you have all the necessary equipment, including the new coil, e-liquid, and a few minutes of time.
- Unscrew the Old Coil: Begin by unscrewing the old coil from your vape device. Make sure to dispose of it properly.
- Prepare the New Coil: Take out the new coil and make sure it is compatible with your device. Then, prime the coil by dripping a few drops of e-liquid onto the wicking material. This will ensure that the wick is fully saturated and ready to use.
- Install the New Coil: Screw the new coil into place, making sure it is snug but not too tight. Then, refill your tank with e-liquid.
- Wait: After installing the new coil, wait a few minutes to allow the e-liquid to fully saturate the wick. This will prevent the wick from overheating and burning.
- Start Vaping: Once the coil is fully primed, you can start vaping. Take a few small puffs at first to ensure that everything is working properly. If you notice any burnt taste or dry hits, stop vaping immediately and repeat the priming process.
By following these simple steps, you can ensure that your coil is properly primed and ready to use. This will help prevent burnt hits and maintain the quality of your vape.
Correct Filling of Vape Tank
When it comes to avoiding burnt hits, one of the most important things to keep in mind is the correct filling of your vape tank. Here are some tips to ensure you’re filling your tank correctly:
- Don’t overfill your tank. Overfilling your tank can lead to leaking, which can cause e-liquid waste and reduced vape performance. Make sure you’re filling your tank only up to its capacity.
- Avoid getting e-liquid in the center tube. Most vape tanks have a center tube that runs from the mouthpiece to the coil. If e-liquid gets in this tube, it can lead to flooding and gurgling. To avoid this, make sure you’re filling your tank at an angle so that the e-liquid runs down the side of the tank and not directly into the center tube.
- Let your tank sit after filling. After filling your tank, let it sit for a few minutes to allow the e-liquid to saturate the wick. This will help prevent dry hits.
- Close the airflow when filling. Closing the airflow when filling your tank can help prevent leaking and flooding. This is because the pressure inside the tank is equalized, preventing e-liquid from escaping through the airflow holes.
By following these tips, you can ensure that you’re filling your vape tank correctly and avoiding burnt hits.
Optimal Usage of Wattage
When it comes to vaping, finding the right wattage setting is crucial for a satisfying experience. The wattage level directly affects the amount of heat generated by the coil, which in turn affects the flavor and vapor production of your vape. Here are some tips to help you find the optimal wattage for your vape:
- Start low: If you’re new to vaping or trying out a new device, start with a lower wattage setting and work your way up. This will help you avoid burning your coil and give you a chance to get used to the flavor and vapor production at different wattage levels.
- Consider coil resistance: Different coils have different resistance levels, which can affect the wattage setting you need for optimal performance. In general, lower resistance coils require more power (wattage) to produce vapor, while higher resistance coils require less power. For example, low-resistance coils (e.g., 0.1-0.5 ohms) are typically used for sub-ohm vaping and require higher wattages (30-150W or more) for optimal performance.
- Find your sweet spot: Once you’ve found a wattage level that works for your device and coil, stick with it. Experiment with different wattage levels to find the sweet spot that provides a satisfying flavor and vapor production without any burnt notes. In general, a lower wattage of 10W can usually get you a decent cool vape, while 50-75W is the ideal wattage for warmer vaping.
- Avoid overfilling your tank: Overfilling your tank can lead to leaking and reduced vape performance, which can affect the wattage level you need for optimal performance. Make sure you’re not filling your tank beyond its capacity to avoid this problem.
By following these tips, you can find the optimal wattage setting for your vape and enjoy a satisfying vaping experience without any burnt taste.
Regular Maintenance and Cleaning
To prevent your vape from burning, it’s essential to perform regular maintenance and cleaning. Here are some tips to help keep your vape in good condition:
- Clean the tank regularly: Regularly cleaning your vape tank can help prevent burnt hits. Remove the tank from the mod and disassemble it. Clean all the parts with warm water and let them dry completely before reassembling the tank.
- Change the coil: Over time, the coil in your vape tank can become clogged with residue from e-liquid. This can cause the coil to burn out and produce a burnt taste. Change the coil regularly to ensure that your vape is producing clean, flavorful vapor.
- Prime the coil: Before using a new coil, it’s essential to prime it properly. This involves saturating the wick with e-liquid to prevent it from burning out. To prime the coil, add a few drops of e-liquid to the wick and let it soak in for a few minutes before using the tank.
- Avoid chain vaping: Chain vaping can cause the wick to dry out quickly, resulting in less effective vaporization and potential burning of the liquid. Take a break between puffs to allow the wick to absorb more e-liquid.
- Check the quality of your e-liquids: Poor quality e-liquids can contain impurities that can cause your vape to burn. Stick to reputable brands and avoid buying cheap e-liquids from unknown sources.
By following these tips, you can help prevent your vape from burning and ensure that you’re getting the best possible vaping experience.
When to Replace Your Coil
If you’re experiencing a burnt taste or a significant decrease in vapor production, it’s likely time to replace your coil. Here are a few things to keep in mind when it comes to replacing your vape coil.
Recognizing Coil Burnout
One of the most common signs that it’s time to replace your coil is a burnt taste. If you’re experiencing an acrid, burnt taste in your vape, it’s time to bid goodbye to your dead coil. A one-time hit off a burnt coil won’t have terrible consequences, but if you continue to use a burnt coil, it can negatively affect your vaping experience and even your health.
Another sign of coil burnout is a decrease in vapor production. If you notice that your vape is producing less vapor than usual, it’s possible that your coil is burnt out and needs to be replaced. Additionally, if you notice that your vape is producing a gurgling sound, it could be a sign that excess e-liquid has reached your device’s center tube, and it’s time to replace your coil.
SPIRITBAR TRON 20000 Puffs
$14.99 (Free Shipping, 2-6 Days Delivery)
- Full-Screen Display
- Smooth & Boost Adjustable Two Models
- 25ml E-liquid Capacity
- 50mg Strength
- Up to 20000 Puffs
Frequency of Coil Replacement
The frequency with which you should replace your coil depends on a few factors, including how often you vape, the type of e-liquid you use, and the wattage at which you vape. As a general rule of thumb, you should replace your coil every one to two weeks if you’re a heavy vaper or every three to four weeks if you’re a light vaper. However, if you notice any of the signs of coil burnout mentioned above, it’s best to replace your coil immediately.
In conclusion, recognizing the signs of coil burnout and knowing when to replace your coil is essential for maintaining a great vaping experience. By following these guidelines and replacing your coil regularly, you can ensure that your vape produces great-tasting vapor and doesn’t negatively affect your health.
Choosing the Right Vape Juice
When it comes to vaping, choosing the right vape juice is crucial to avoid burnt hits and ensure that you have an enjoyable vaping experience. Here are some factors to consider when selecting your vape juice:
Nicotine Strength
Nicotine strength is an important factor to consider when choosing your vape juice. If you’re a heavy smoker, you may want to start with a higher nicotine strength, while light smokers may prefer a lower strength. It’s important to note that nicotine salts are usually the best choice for smaller vaping devices, while larger devices work best with low nicotine strengths.
PG/VG Ratio
The main base solution in e-liquid is either Propylene Glycol (PG), Vegetable Glycerol (VG), or a combination of both. PG provides more flavor, but produces weak vapor, while VG produces thicker vapor but can be less flavorful. Choosing the right PG/VG ratio is crucial in ensuring a smooth vaping experience.
Flavor
Flavor is also an important factor to consider when choosing your vape juice. There are a variety of flavors available, from fruity to dessert flavors. It’s important to choose a flavor that you enjoy, as this can greatly enhance your vaping experience.
Brand
Choosing a reputable brand is important in ensuring that you are using a high-quality vape juice. Look for brands that have a good reputation and positive reviews from other vapers.
By considering these factors, you can choose the right vape juice to ensure a smooth and enjoyable vaping experience.
Avoiding Chain Vaping
One of the most common causes of burnt coils and that nasty taste is chain vaping. Chain vaping is when you take several puffs in quick succession without giving your vape device enough time to saturate the cotton wrapped around the coil. This can lead to dry cotton and burnt coils, which in turn leads to a burnt taste.
To avoid chain vaping, try waiting a few extra seconds between puffs, 15-20 should do it. This will give your cotton enough time to saturate once again and maximize the performance of your vape device.
Another way to avoid chain vaping is to choose a vape device with a larger tank. A larger tank will hold more e-liquid, which means you won’t have to refill your device as often. This can help prevent the temptation to chain vape.
If you’re new to vaping, it’s important to start slowly and take breaks between puffs. This will help you get used to the sensation of vaping and prevent you from overdoing it.
Remember, avoiding chain vaping is key to preventing burnt coils and that nasty taste. Take your time when vaping, and you’ll be rewarded with a much more enjoyable experience.
Understanding Airflow Settings
When it comes to vaping, understanding the airflow settings on your device is crucial to getting the best possible experience. Airflow control refers to a setting found on vape tanks or pod cartridges that allows you to manually adjust the amount of air that is allowed into the tank or cartridge when you take a puff.
The amount of airflow you choose can have a significant impact on your vaping experience. If you prefer a warmer vapor, a tighter airflow setting can help achieve that. Alternatively, if you prefer a cooler vapor, a more open airflow setting can help achieve that.
In addition to affecting the temperature of the vapor, airflow settings can also affect the size of the clouds, the intensity of the flavor, and the throat hit. Experimenting with different airflow settings can help you find the perfect balance for your preferences.
It’s important to note that improper airflow settings can also lead to burnt hits. If the airflow is too restricted, the coil can overheat and burn the wick, resulting in a burnt taste. On the other hand, if the airflow is too open, the coil may not be able to heat up the e-liquid properly, leading to a weak hit.
To avoid burnt hits, make sure to adjust your airflow settings appropriately for your device and e-liquid. If you’re experiencing a burnt taste, try adjusting the airflow to see if that helps. If the problem persists, it may be time to replace your coil or refill your tank.
Importance of Hydration
When you experience a burnt taste while vaping, it’s essential to stay hydrated. Vaping can dehydrate you, leading to dry mouth, sore throat, and headaches. You may also experience a burnt taste if your e-juice is too thick or if you’re vaping at high wattage levels.
To avoid this, make sure you drink plenty of water before and after vaping. Dehydration can cause your mouth to produce less saliva, leading to dry hits and burnt taste. Drinking water can help keep your mouth moist and prevent dryness.
In addition to water, you can also drink other hydrating liquids like coconut water, sports drinks, or herbal tea. These drinks can help replenish electrolytes and minerals lost through vaping and keep your body hydrated.
Another way to stay hydrated is to eat hydrating foods like watermelon, cucumber, and celery. These foods are high in water content and can help keep your body hydrated.
In summary, staying hydrated is essential when vaping to avoid a burnt taste and other dehydration symptoms. Drinking water, hydrating liquids, and eating hydrating foods can help keep your body hydrated and prevent dry hits.
Handling Dry Hits
If you experience a burnt taste when vaping, it is likely that you are getting a dry hit. This happens when the wick in your coil is not sufficiently saturated, causing the coil to overheat and burn the e-liquid. Here are some tips to help you avoid and fix dry hits:
- Priming: One of the primary causes of dry hits is a new atomizer coil that has either not been primed or has been improperly primed. When you dispose of an old atomizer coil and replace it with a new one, the new coil should be properly primed. Priming a coil essentially involves adequately saturating the coil’s wick with e-liquid before using it. To prime your coil, add a few drops of e-liquid to your coil head and let it soak for a few minutes before vaping.
- Saturate the Wick: If you keep the coil area of your vape device saturated adequately, it can help reduce the chances of you receiving a horrible dry hit down to almost nothing. To ensure that your wick stays saturated, make sure to refill your tank regularly and avoid chain vaping.
- Check Your Wattage: If your wattage is too high, it can cause your coil to overheat and burn your e-liquid, resulting in a dry hit. Make sure to check the recommended wattage range for your coil and adjust your settings accordingly.
- Clean Your Coil: If your coil is dirty or clogged with residue, it can also cause dry hits. To clean your coil, remove it from your device and rinse it under warm water. Let it dry completely before reassembling your device.
By following these tips, you can avoid and fix dry hits, ensuring that you have a smooth and enjoyable vaping experience.